I have been kind of interested and charmed lately by the vintage bunting/garlands that have been popping up in many places lately. Some might recall the Halloween bunting I made for our home decor and my daughter's birthday party last month.
 |
| SPOOKY Bunting |
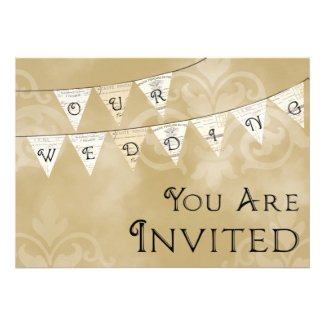
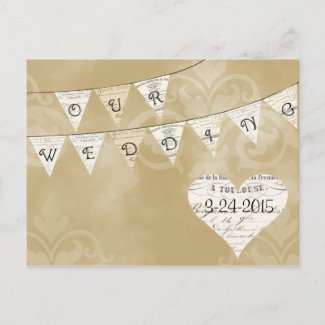
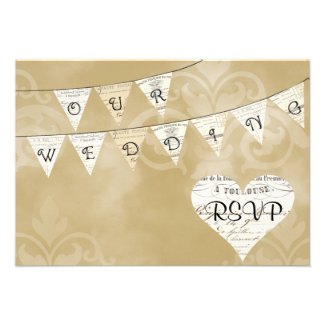
I used GIMP, my free image manipulation program, to make French ephemera wedding bunting to apply to various products in Zazzle. The background for the letters to spell out OUR WEDDING is made of lovely vintage French typography, advertisements, receipts, etc. - all from Karen at the Graphics Fairy. It took a bit of time to shape each piece of ephemera into the pennant, or equilateral triangle, shape before applying the letter to each one. I used a great font called Chocolate Box Decorative.
I then applied a background and text and came up with invitations, Save the Date postcards and RSVP cards.
Table seating cards and menu cards are also possibilities.
I have the French Wedding bunting with alternative backgrounds that I have not yet posted on Zazzle. These are more colorful designs with swirls and leaves in the background in either aqua/teal or purple/lilac/tan.
Now, I have to admit that I had the individual pieces of the wedding bunting done right after I made the Halloween banner, but I could not for the life of me draw a satisfactorily smooth line as the "string" the bunting pieces were attached to. I tried again and again. Guess my hand is just not that steady.
So, in the interim, I have been watching quite a few GIMP tutorials on YouTube, and been reading a lot of GIMP advice. When I found this written tutorial about how to draw a circle, and other shapes in GIMP, I knew it was just what I needed for this bunting project.
Basically, you use your select tool, in this case the circle (or oval) select. Position your selection where you want your line to be; it doesn't matter if part goes off your image (mine had to a lot to get the correct curve) or if there is extra where you don't want a line, you can just erase later. When you have your selection positioned, go to Edit-Stroke selection, then make your line as thick as you want it (I believe mine were 3 pixels). This also works for squares and rectangles with the rectangle select tools and for other shapes with straight lines. This was a great discovery for me.
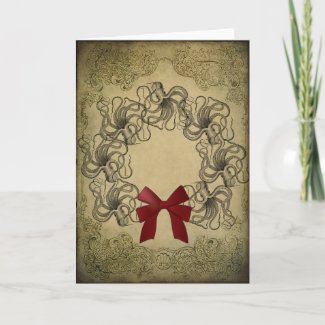
I made this funky, fun design
...by drawing a circle the same way on a transparent layer as a guideline for laying out the wreath, then just making it invisible (or deleting it) later.
I know this GIMP "discovery" is probably very elementary for most GIMP users, but I am still reading, watching and learning (mostly through trial and error) and it was just what I needed.


No comments:
Post a Comment